Pushing To and Pulling From the Remote Repository#
Learning objectives#
Understand the purpose and process of pushing changes from a local Git repository to a remote repository on GitHub
Execute the
git pushcommand to transfer local commits to a remote repositoryView and verify the status of a repository after pushing changes using
git statusandgit logUtilize a Personal Access Token (PAT) for authentication when pushing a remote repository
Navigate GitHub to view the commit history of a repository
Retrieve updates from a remote repository to a local repository using the
git pullcommand
Pushing to the remote#
By now we’ve done quite a bit of work on our cheatsheet and good practice
material in our local git-good-practice repository. It seems like a good point to
put this work on the remote repository residing on GitHub.
Let’s review the status of the repository and view the log:
$ git status
On branch main
Your branch is ahead of 'origin/main' by 11 commits.
  (use "git push" to publish your local commits)

nothing to commit, working tree clean

$ git log --oneline
92b2ac2 (HEAD -> main) Create general good practice guides directory
5cf8321 Remove rubbish.txt
d26a698 Add some rubbish to try out 'git rm'
910bb79 Add note about '--name-only' option to 'git diff'
9bb2714 Add entries about 'git diff' to cheatsheet
37be130 Add entry about 'git log' to cheatsheet
46b11e6 Add advice on committing little and often
ecbf67e Add entry for 'git commit' with '-m' option
34c19f2 Add material on committing
ad56194 Add entry about staging files with 'git add'
17912ce Create a cheatsheet document
3917168 (origin/main, origin/HEAD) Initial commit
The status indicates main, our local branch, is ahead of origin/main, the
remote branch, by 11 commits. (We will look at branches more formally later
in the course; for now, just think of these as different commit histories: one
local, the other remote.) These commits are our new snapshots that are yet
to be recorded in the remote repository. As a recap, note that the log shows the
short identifier and commit message of each of these commits, along with the
initial commit generated when the repository was created (3917168).
The status also includes a handy comment, suggesting “use “git push” to publish
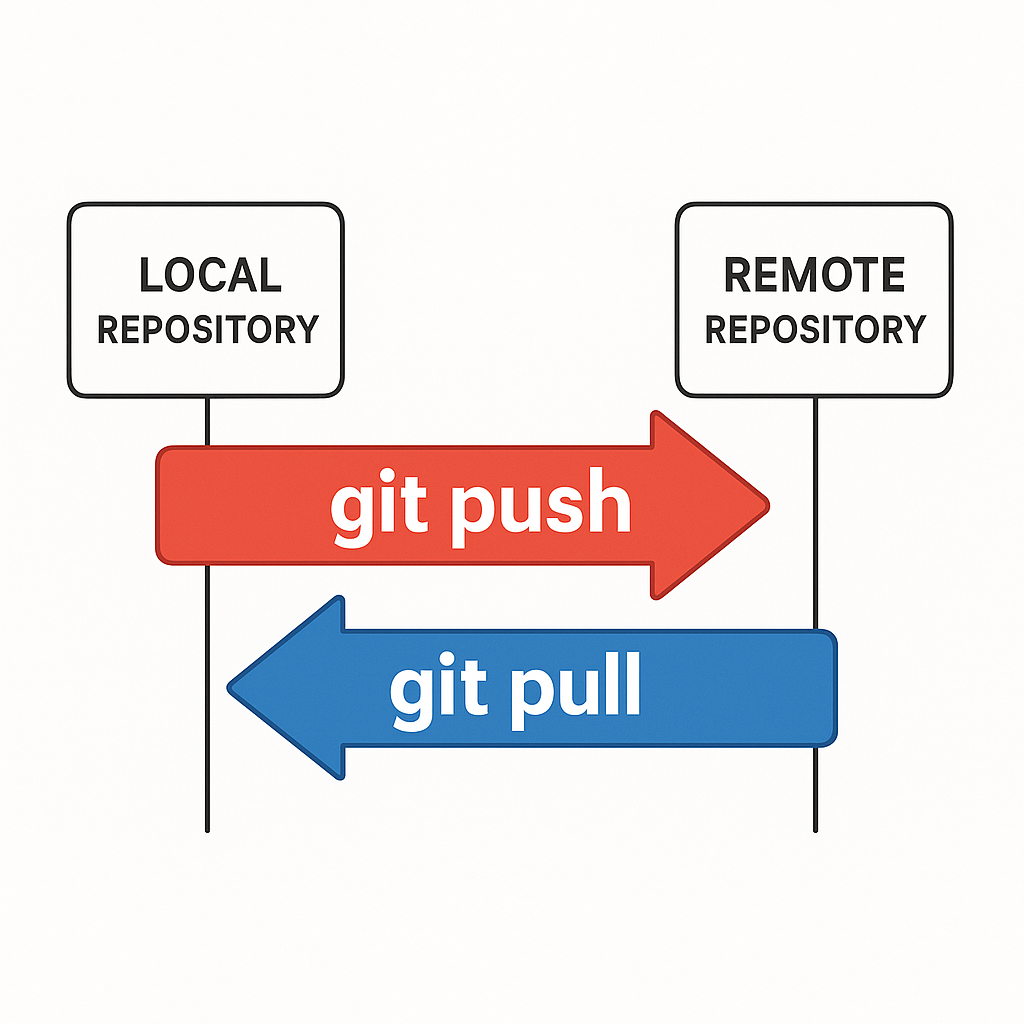
your local commits” - this is exactly what we should do next! Ultimately, git push
transfers the commits we have made in our local repository to the remote repository.
It should be noted that it will only push commits, not changes residing in the
working tree or staging area. We can alternatively use git push origin, if we
would like to be more explicit about which remote repository we are pushing to
(origin by default).
When using the git push command, we may be prompted to enter our Git username
and a password. Since we set up the repository to work with HTTPs, we use the
Personal Access Token (PAT) we generated in the Setting up Git and GitHub
episode as said password.
Pasting the PAT#
You can paste the PAT in most terminals by right-clicking at the prompt.
We now push the commits to our remote git-good-practice repository (note
that our terminal program doesn’t display the PAT when we paste it in):
$ git push origin
Username for 'https://github.com': jbloggs9999
Password for 'https://jbloggs9999@github.com':
Enumerating objects: 33, done.
Counting objects: 100% (33/33), done.
Delta compression using up to 8 threads
Compressing objects: 100% (31/31), done.
Writing objects: 100% (32/32), 4.09 KiB | 1.02 MiB/s, done.
Total 32 (delta 13), reused 0 (delta 0), pack-reused 0
remote: Resolving deltas: 100% (13/13), done.
To https://github.com/jbloggs9999/git-good-practice.git
   3917168..92b2ac2  main -> main
Now we check the status and log again:
$ git status
On branch main
Your branch is up to date with 'origin/main'.

nothing to commit, working tree clean

$ git log --oneline
92b2ac2 (HEAD -> main, origin/main, origin/HEAD) Create general good practice guides directory
5cf8321 Remove rubbish.txt
d26a698 Add some rubbish to try out 'git rm'
910bb79 Add note about '--name-only' option to 'git diff'
9bb2714 Add entries about 'git diff' to cheatsheet
37be130 Add entry about 'git log' to cheatsheet
46b11e6 Add advice on committing little and often
ecbf67e Add entry for 'git commit' with '-m' option
34c19f2 Add material on committing
ad56194 Add entry about staging files with 'git add'
17912ce Create a cheatsheet document
3917168 Initial commit
Once again, the status shows we have no outstanding commits to push, meaning
main and origin/main are now pointing at the same commit (i.e. the remote
repository is now up to date with the local repository).
Viewing the repository on GitHub#
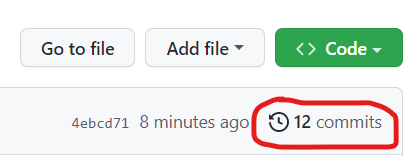
GitHub provides some nice facilities to view the commit history on its website. Below we outline the steps you will need to take to view these newly pushed commits in the remote repository on your personal GitHub account.
Step 1: Log into your GitHub account.
Step 2: Click on your profile picture in the top right-hand corner - this will activate a drop-down menu. Select Your repositories from this drop-down menu.
Step 3: Click on the name of the repository you have been working on.
Step 4: Click on commits, above the list of files on the right-hand side. It should look akin to the following screenshot (the number of commits you have may differ if you’ve diverged from our ongoing example, or if you’ve skipped some exercises):
Pulling changes from a remote repository#
Platforms like GitHub can be used to share our code with the world. If you’re
interested in taking a closer look at someone else’s code, or even making use
of it, then you could clone their repository as explained in the Making Repositories episode. But
what do you do if the owner of said repository makes updates at a later date?
You can retrieve these
updates to your local repository by using the git pull command. We’ll cover
this command more later in the course, when we talk about collaborating with
others on code. You use git pull in the analogous way to git push: from
within the root folder of the repository, just run
git pull
or, to be more explicit about the remote repository, you can equivalently run
git pull origin
A final note#
In this episode, we have explored using git push in a way which is only really
suitable when we are working alone on a repository. This is fine if you want
to use a platform like GitHub for publishing your work, or if you just want
to use it to keep a backup with a record of the development history. In contrast,
when collaborating with others, we need to be more careful about using git push
and git pull to avoid conflicts between our work and others’. We will explore
this in more detail later in the course.