Virtual Environments#
Course Objectives#
Explain the role of virtual environments
Understand why virtual environments are essential in Python development and how they help manage project dependencies and avoid conflicts.Create and activate a virtual environment with
venv
Learn how to set up and use virtual environments using the built-in Pythonvenvmodule on both macOS and Windows.Highlight different virtual environment tools
Identify the differences and advantages ofvenv,Conda,Pipenv, andPoetryfor Python environment and dependency management.
Overview of Virtual Environments
A virtual environment is an isolated workspace for your projects. The focus on this short course will be Python virtual environments, however the concept exists beyond just Python. It keeps all your project’s dependencies (libraries, packages, etc.) separate from other projects and from your system-wide installations. This isolation ensures that installing or updating a dependency in one project does not affect other projects or your system Python.
Why Use Virtual Environments?
Dependency Management
Different projects might require different versions of python or different versions of a particular library in order to work. A virtual environment allows each project to maintain its own set of dependencies, completely separate from other projects.Reproducibility
Sharing code is easier when collaborators can recreate the exact environment you used, avoiding the “it works on my machine” problem.System Integrity
Installing or updating packages system-wide can break other applications. Virtual environments confine these changes to the environment, leaving system Python untouched.
Using venv across different operating systems
Creating an exhaustive list of all of the different environments and package managers across all the different operating systems would be far too extensive to include as a short course here. As such, the two most common operating systems in use today, MacOS and Windows, are included here with the manager that is bundled with Python already, venv allowing you to get started with one manager on your operating system and explore other managers in your own time via the tutorials linked within this course. All of the managers’ websites will highlight the pros of the manager that they are proposing, so the manager you should use will depend on your personal preference.
Note that between the different operating system sections, there is some repetition of content to ensure that each of the different sections is able to be studied as stand-alone sections.
MacOS
Opening the Command Line
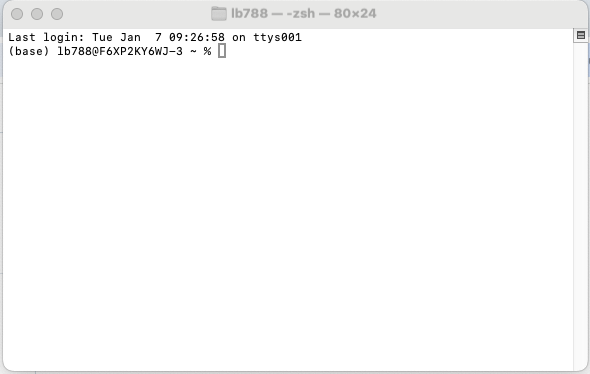
The first step on macOS to create a virtual environment is to open the ‘Terminal’. This can be done by searching for the program and clicking on the program icon, which is:
This should then open a window such as:

Commands can then be typed directly into the terminal and executed by pressing Return.
Verifying Python Installation
You can verify that Python is installed correctly by running:
python --version
This should produce a output stating the installed python version, for example:
Python 3.12.4
Minor differences in the python version (beyond the first .) will not matter for the most part. However, unless you have a specific reason to use Python 2, the version should start with a 3. If it does not or if Python is not found on your system then you can install it via the official website. Note that depending on your particular configuration, your Python might be accessed via another alias, such as ‘python3’ or ‘py’, resulting in the desired command being ‘python3 –version’.
Typically Python is invoked by calling python followed by the path to a python script file, containing some code:
python example_script.py
Calling Python from command line with no other arguments will open the interpreter (indicated by the >>> prompt), where python commands can be executed in an interactive manner. This is rarely used as the code written is cleared when the interpreter is exited, which can be done by executing the exit() command:
>>> exit()
Checking what is currently installed
Python comes with some default packages installed already, and installation of packages is typically managed through PIP (a recursive acronym for “pip install package”). We can see what is currently installed system-wide using:
pip list

we _could_ install more packages system-wide using pip, but it is better to do so in a virtual environment.

#### Creating an environment

An environment can be created with the following command:

```bash
python -m venv virtual_environment_1
On macOS this can then be activated with:
source virtual_environment_1/bin/activate
Your command line should now have a hint that highlights which environment you are currently in. This is key as it will make it easy at a glance to understand which environment you are in. Your command line should now look something like:

You can now deactivate the environment with the following command:
deactivate
which will remove the environment hint from the command line, highlighting that you are no longer in any virtual environment.
You would now be able to create a and activate a second virtual environment, called virtual_environment_2 with the following commands:
python -m venv virtual_environment_2
source virtual_environment_2/bin/activate
and easily switch between the two of them by first using deactivate and then source <environment_name>/bin/activate
Installing a package
Whith a virtual environment active, when we go to install a package it can be a good idea to check which packages are already installed. This can be done with the following command:
pip list
This should give you a list of different python packages that are current installed. If you wanted to install a new package, Pandas for example (a very widespread Python Data Analysis Library), then you could run the following command:
pip install pandas
Now when you check which packages are installed using pip list you should see that pandas is installed and can be imported into code written with this environment active using import pandas (feel free to try this in the interactive shell). If you were to now run deactivate and pip list again you would see that the pandas packages is not listed.
This is the key goal of virtual environments: allowing you to easily swap between different configurations of packages and their respective versions without uninstalling and reinstalling everything. For example it might be the case that on one of your projects you need to use pandas 2.2.2, but that this is incompatible with some other package used in a different project, which only works with pandas 1.8.0. Using virtual environments allows each project to install the working version of pandas without replacing the version installed in the other project.
Windows
Openign the Command Prompt (CMD) or PowerShell
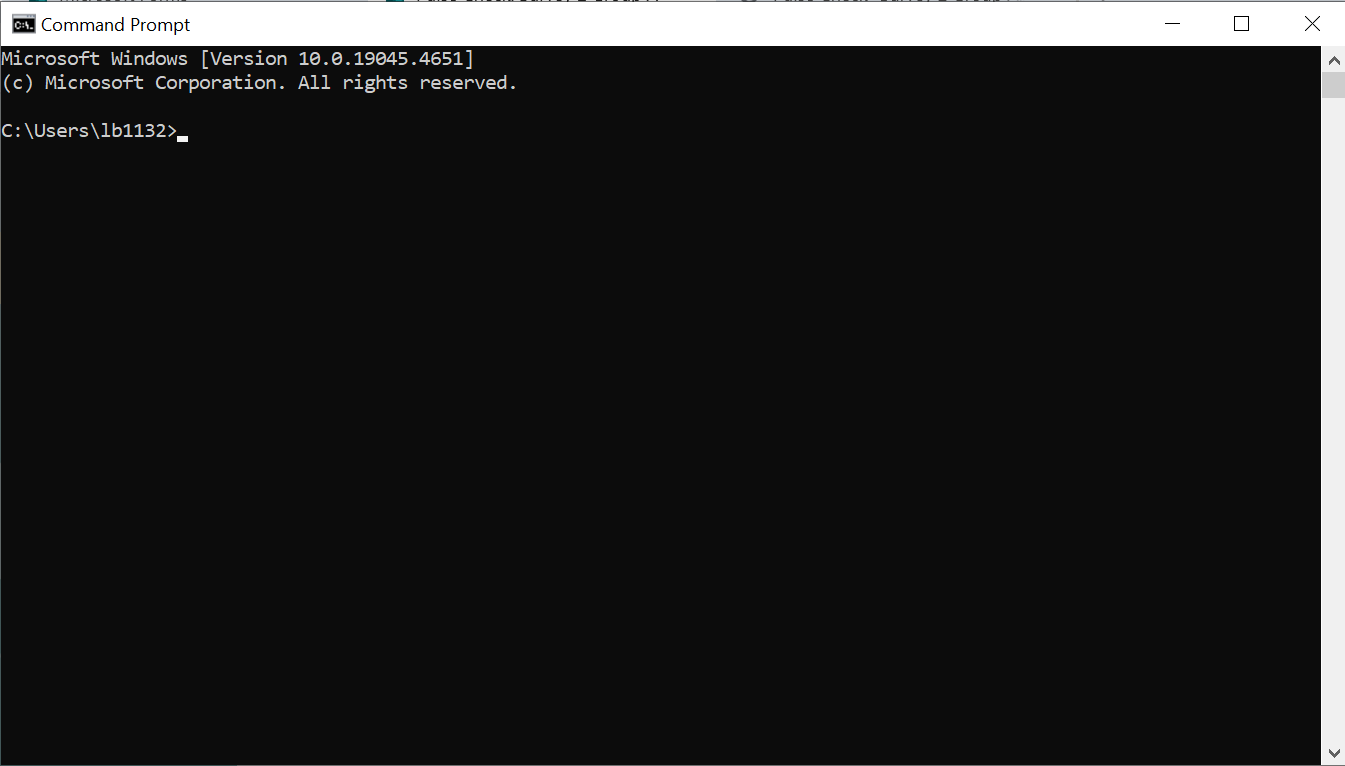
On windows, you can open the Command Prompt by:
Clicking on the Start menu (Windows icon).
Typing cmd or Command Prompt
Clicking on the Command Prompt icon.
![A screenshot of a Windows Command Prompt terminal. The window displays "Microsoft Windows [Version 10.0.19045.4651]" and a copyright notice. The prompt C:\Users\lb1132> is visible, indicating the current user and directory. The background is black with white text.](../_images/Command_Prompt.png)
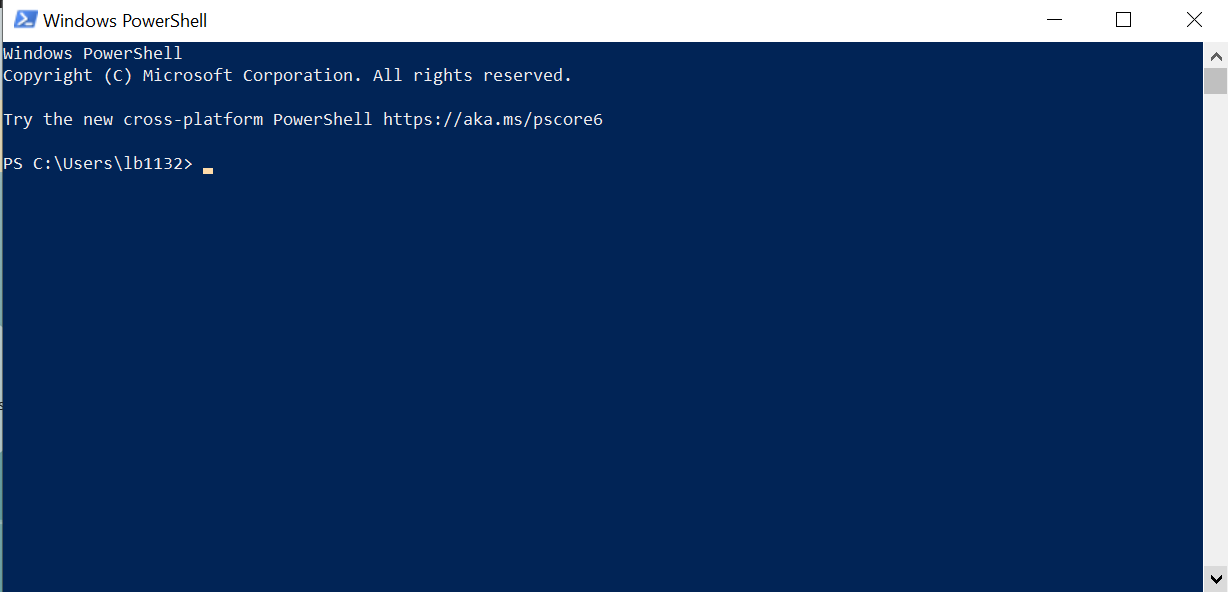
Alternatively, you may use PowerShell by typing PowerShell in the Start menu and selecting it.

When the Command Prompt is opened, you will see a window such as:

or if you are using PowerShell then you will see:

Verifying Python Installation
In your Command Prompt or PowerShell, run
python --version
This should produce a output stating the installed python version, for example:
Python 3.12.4
Minor differences in the python version (beyond the first .) will not matter for the most part. However, unless you have a specific reason to use Python 2, the version should start with a 3. If it does not or if Python is not found on your system then you can install it via the official website. Note that depending on your particular configuration, your Python might be accessed via another alias, such as ‘python3’ or ‘py’, resulting in the desired command being ‘python3 –version’.
Typically Python is invoked by calling python followed by the path to a python script file, containing some code:
python example_script.py
Calling Python from command line with no other arguments will open the interpreter (indicated by the >>> prompt), where python commands can be executed in an interactive manner. This is rarely used as the code written is cleared when the interpreter is exited, which can be done by executing the exit() command:
>>> exit()
Checking what is currently installed
Python comes with some default packages installed already, and installation of packages is typically managed through PIP (a recursive acronym for “pip install package”). We can see what is currently installed system-wide using:
pip list

we _could_ install more packages system-wide using pip, but it is better to do so in a virtual environment.

#### Creating a Virtual Environment

To create a new virtual environment named `virtual_environment_1`, run:

```shell
python -m venv virtual_environment_1
If python does not work, then you may need to try replacing it with either py or python3.
This creates a folder called virtual_environment_1 in your current directory. To activate this environment on Windows, use the Scripts\activate script. For instance, if you are in the same directory where you created the folder:
.\virtual_environment_1\Scripts\activate
After activation, your command line prompt will then change to indicate the environment name in parentheses, for example
(virtual_environment_1) C:\Users\You>
This helps you see at a glance what environment you are using.
To deactivate this environment, simply type:
deactivate
Your command line will now revert to its normal state, indicating you are no longer in a virtual environment.
Creating Multiple Environments
You can create and activate a second virtual environment, virtual_environment_2, as follows:
python -m venv virtual_environment_2
.\virtual_environment_2\Scripts\activate
With it possible to easily switch between then by deactivating one and activating another:
deactivate
.\virtual_environment_1\Scripts\activate

#### Installing a Package

Once you are inside an activated environment, you can install packages with `pip` (or `pip3` if that is what your system uses in a similar manner as before with `python3`). For example, to install [Pandas](https://pandas.pydata.org/):

```shell
pip install pandas
Now, when running
pip list
you should see pandas listed among your installed packages. This means you can use import pandas with Python scripts in this environment. If you leave the environment by typing deactivate and then check pip list again (outside the environment), you will not see pandas listed.
This is the key goal of virtual environments: allowing you to easily swap between different configurations of packages and their respective versions without uninstalling and reinstalling everything. For example, it might be the case that on one of your projects, you need to use pandas 2.2.2, but this is incompatible with some other package used in a different project, which only works with pandas 1.8.0. Using virtual environments allows each project to install the working version of pandas without replacing the version installed in the other project.
Python Environment and Dependency Management Tools
There are a number of different options available for environmental and dependency management tools. Below are some of the most widely used tools for this task within Python. The following sections act as a set of signposts to the more comprehensive guides to their use on their official websites.
venv
(covered above)
venv is a tool that is bundled with Python. You can create a virtual environment called .venv with the following command.
python -m venv .venv
source .venv/bin/activate
Virtualenv
Virtualenv is a tool that can be used to set up a virtual environment. If it is not already on your machine, you’ll need to install it such as by:
pip install virtualenv
To create a new environment:
virtualenv env_name
To activate and deactivate the environment:
source env_name/bin/activate
deactivate
A great method to install packages into the environment is to store all dependencies listed in a requirements.txt (rather than directly installing them with pip install package_name). This is because you can save and share this file alongside your repository, and it allows others to easily see and make a copy of the environment you used for your analysis - and for yourself to reproduce that environment, when you return to your code years later!
An example requirements.txt file:
jupyter==1.0.0
pandas==2.2.2
To install the packages from requirements.txt into your environment:
pip install -r requirements.txt
To update your environment (such as if you have to add a new package to the requirements file):
pip install -r requirements.txt --upgrade
To delete your environment, use the command below - but be careful! Do not name your environment with the same name as a folder in your current location. If so, you could accidentally permanently delete that folder rather than your environment…
rm -r env_name
Conda
Conda is another popular tool for environment management in Python. If not already on your machine, follow these installation instructions to install conda.
You can save the dependencies needed for your Python environment using an environment.yml file. Other people can then build an environment with the same dependencies based on that file. Within this file, you can just list the packages needed, or you can include specific versions (if you want people to use the same environment as you).
Example file:
name: shoaib2022
channels:
  - defaults
dependencies:
  - matplotlib=3.3.4
  - pytest=7.4.4
  - pip:
    - pytest-xdist==3.6.1
To create an environment from the file:
conda env create --name env_name --file environment.yml
To activate the environment:
conda activate env_name
To see packages in the current environment:
conda list
To see the conda environments on your machine:
conda env list
To update the current environment from a .yml file (such as if you have changed the dependencies or versions listed):
conva env update --file environment.yml --prune
To delete the environment:
conda remove -n env_name --all
Pipenv
mkdir .venv
pipenv install numpy
pipenv shell
Poetry
Poetry bundles multiple tools for building and organising projects and managing dependencies. It makes use of venv to manage dependencies through a user-friendly interface, and also incorporates a build system to make your own projects easily installable (for example with pip). This is a great way to standardise your workflow and make your work easy to reproduce!
pipx install poetry

